
こんにちは、あろっちです。
本記事は、PlatformIO IDE(VS Code + PlatformIO)で、Raspberry Pi Pico/RP2040ボード(Arduino-Pico)のArduinoプロジェクトを新規作成する方法を記述します。
PlatformIO IDE

本記事は、以下のページを参考にしています。


PlatformIO IDEの準備
PlatformIO IDEのインストール
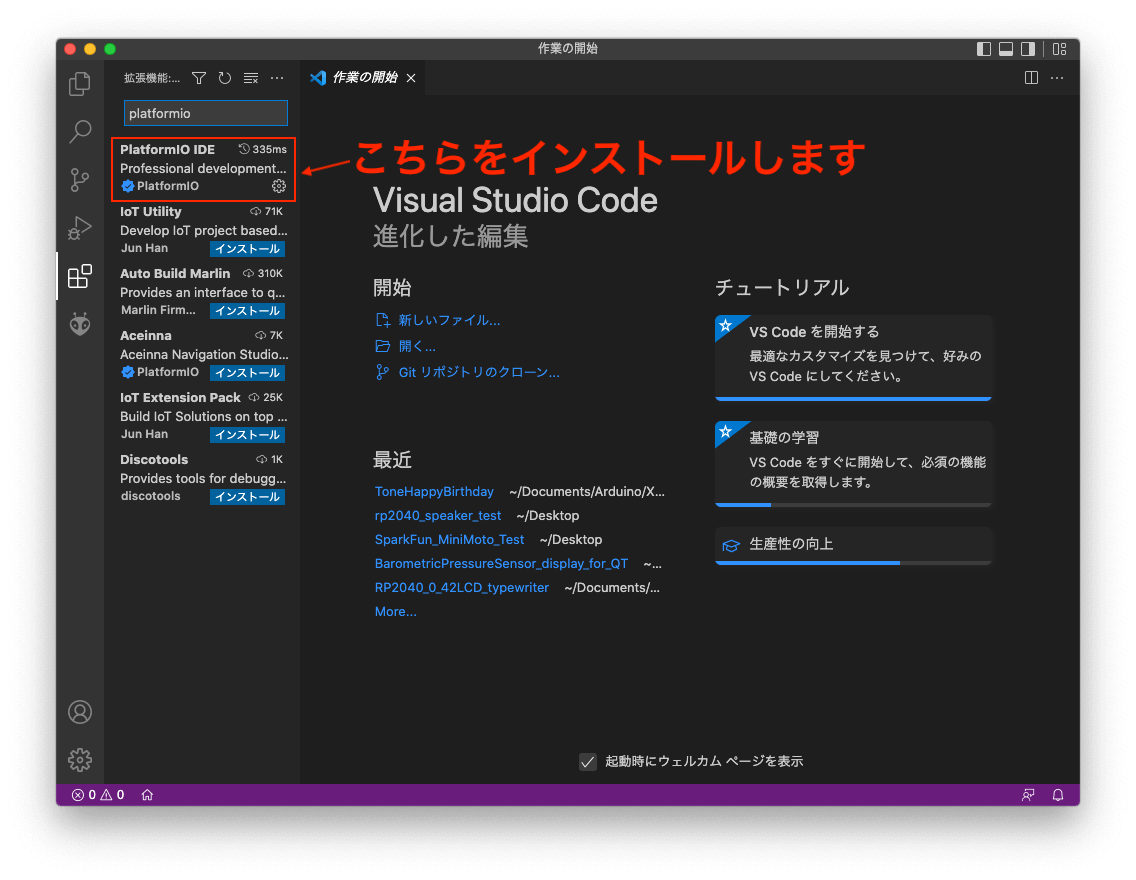
PlatformIO IDE未インストールの場合に実施します。
VS Codeの拡張機能アイコン(左の上から5番目のアイコン)をクリックし、検索ボックスにplatformioと入力し、PlatformIO IDEをインストールします。
Raspberry Pi Pico/RP2040ボード(Arduino-Pico) Platformのインストール
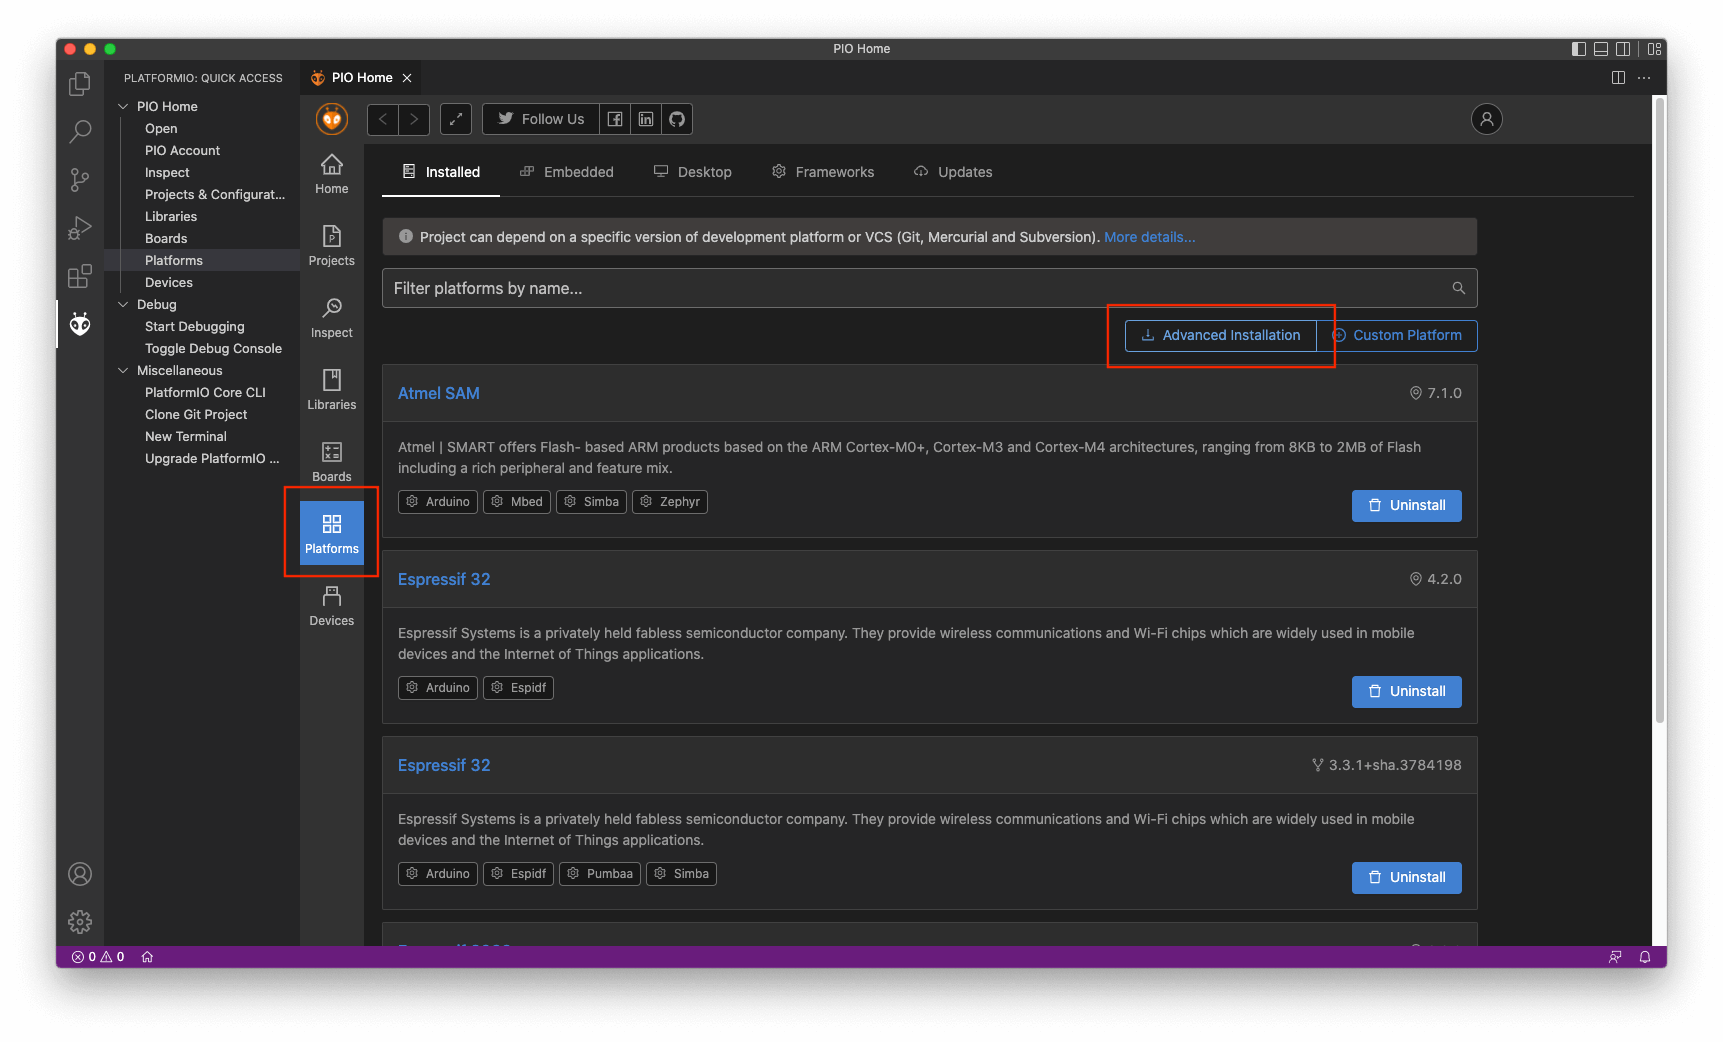
PIO Homeから「Platforms」をクリックし「Advanced Installation」をクリックします。(赤枠の箇所参照)
Advanced platform installationの入力ボックスに以下のURL(GitHubリポジトリ)を入力し「Install」をクリックします。
https://github.com/maxgerhardt/platform-raspberrypi.git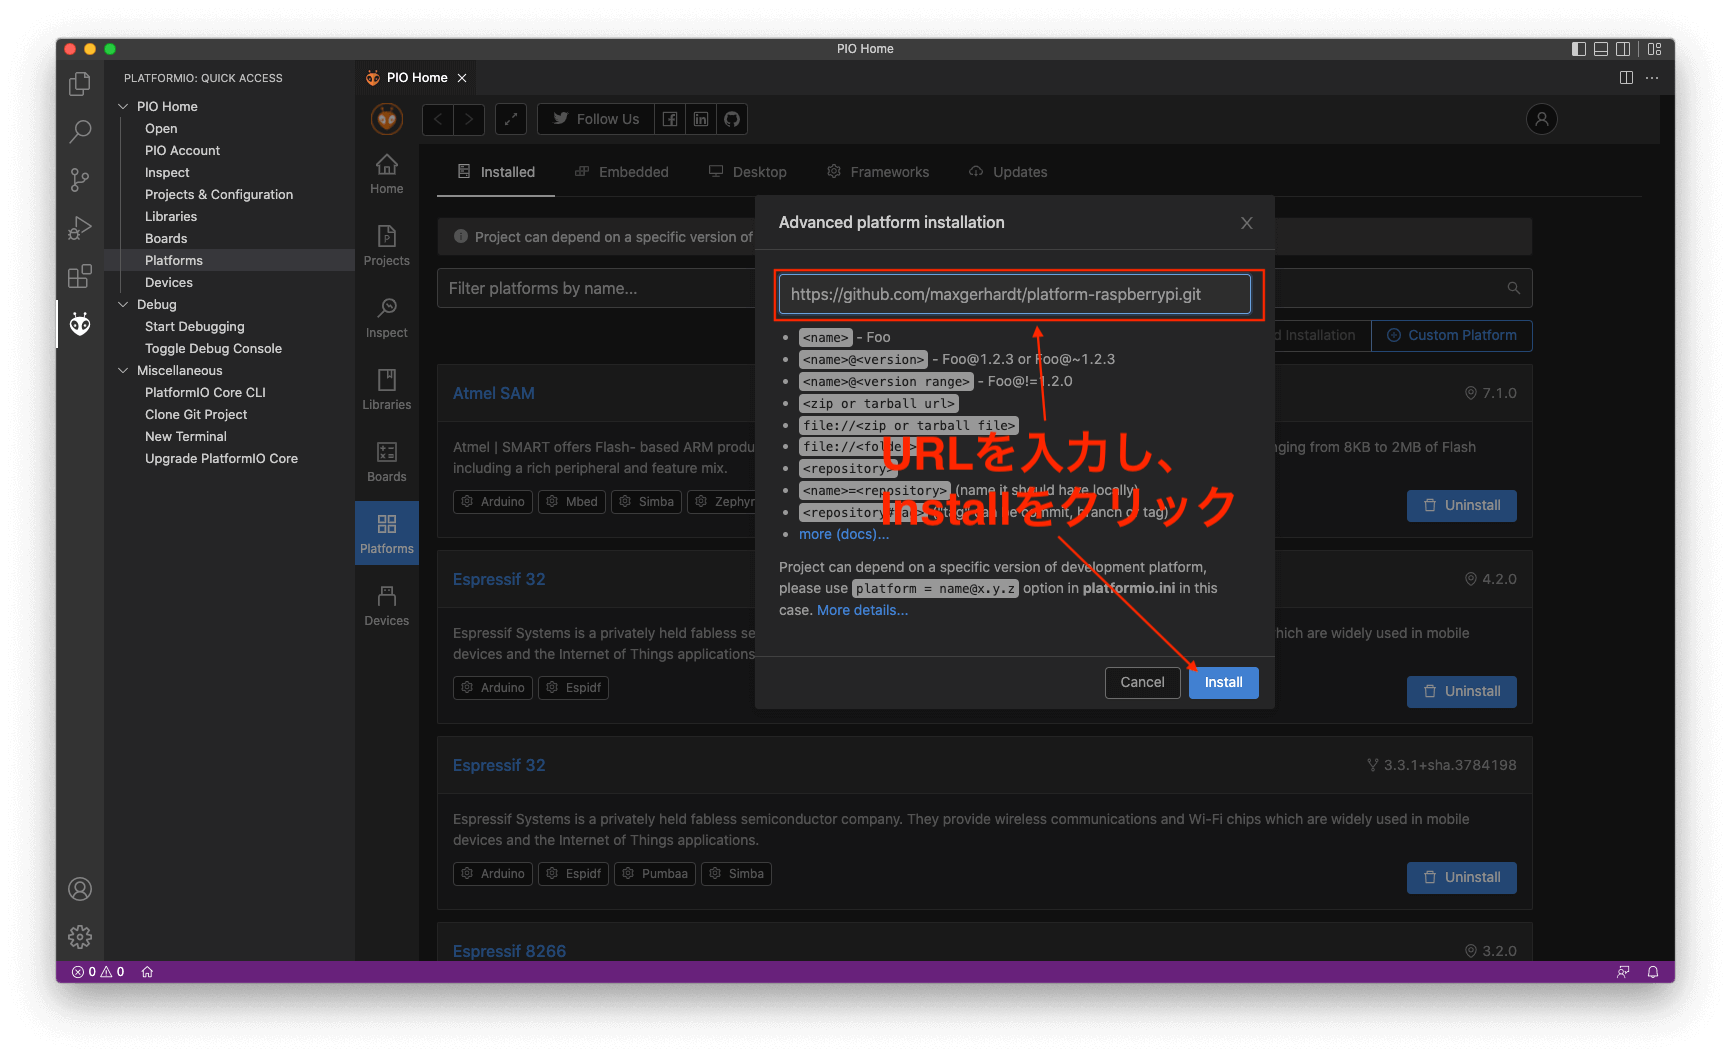
インストールに成功すると以下のような画面が表示されるので「OK」をクリックします。

Platformのアップデート方法
Raspberry Pi Pico/RP2040ボード(Arduino-Pico)のバージョンが上がったときにPlatformのアップデートが必要になることがあります。
Raspberry Pi Pico/RP2040ボード(Arduino-Pico)の新バージョンが使えない場面などで試してみてください。
メニューからアップデート
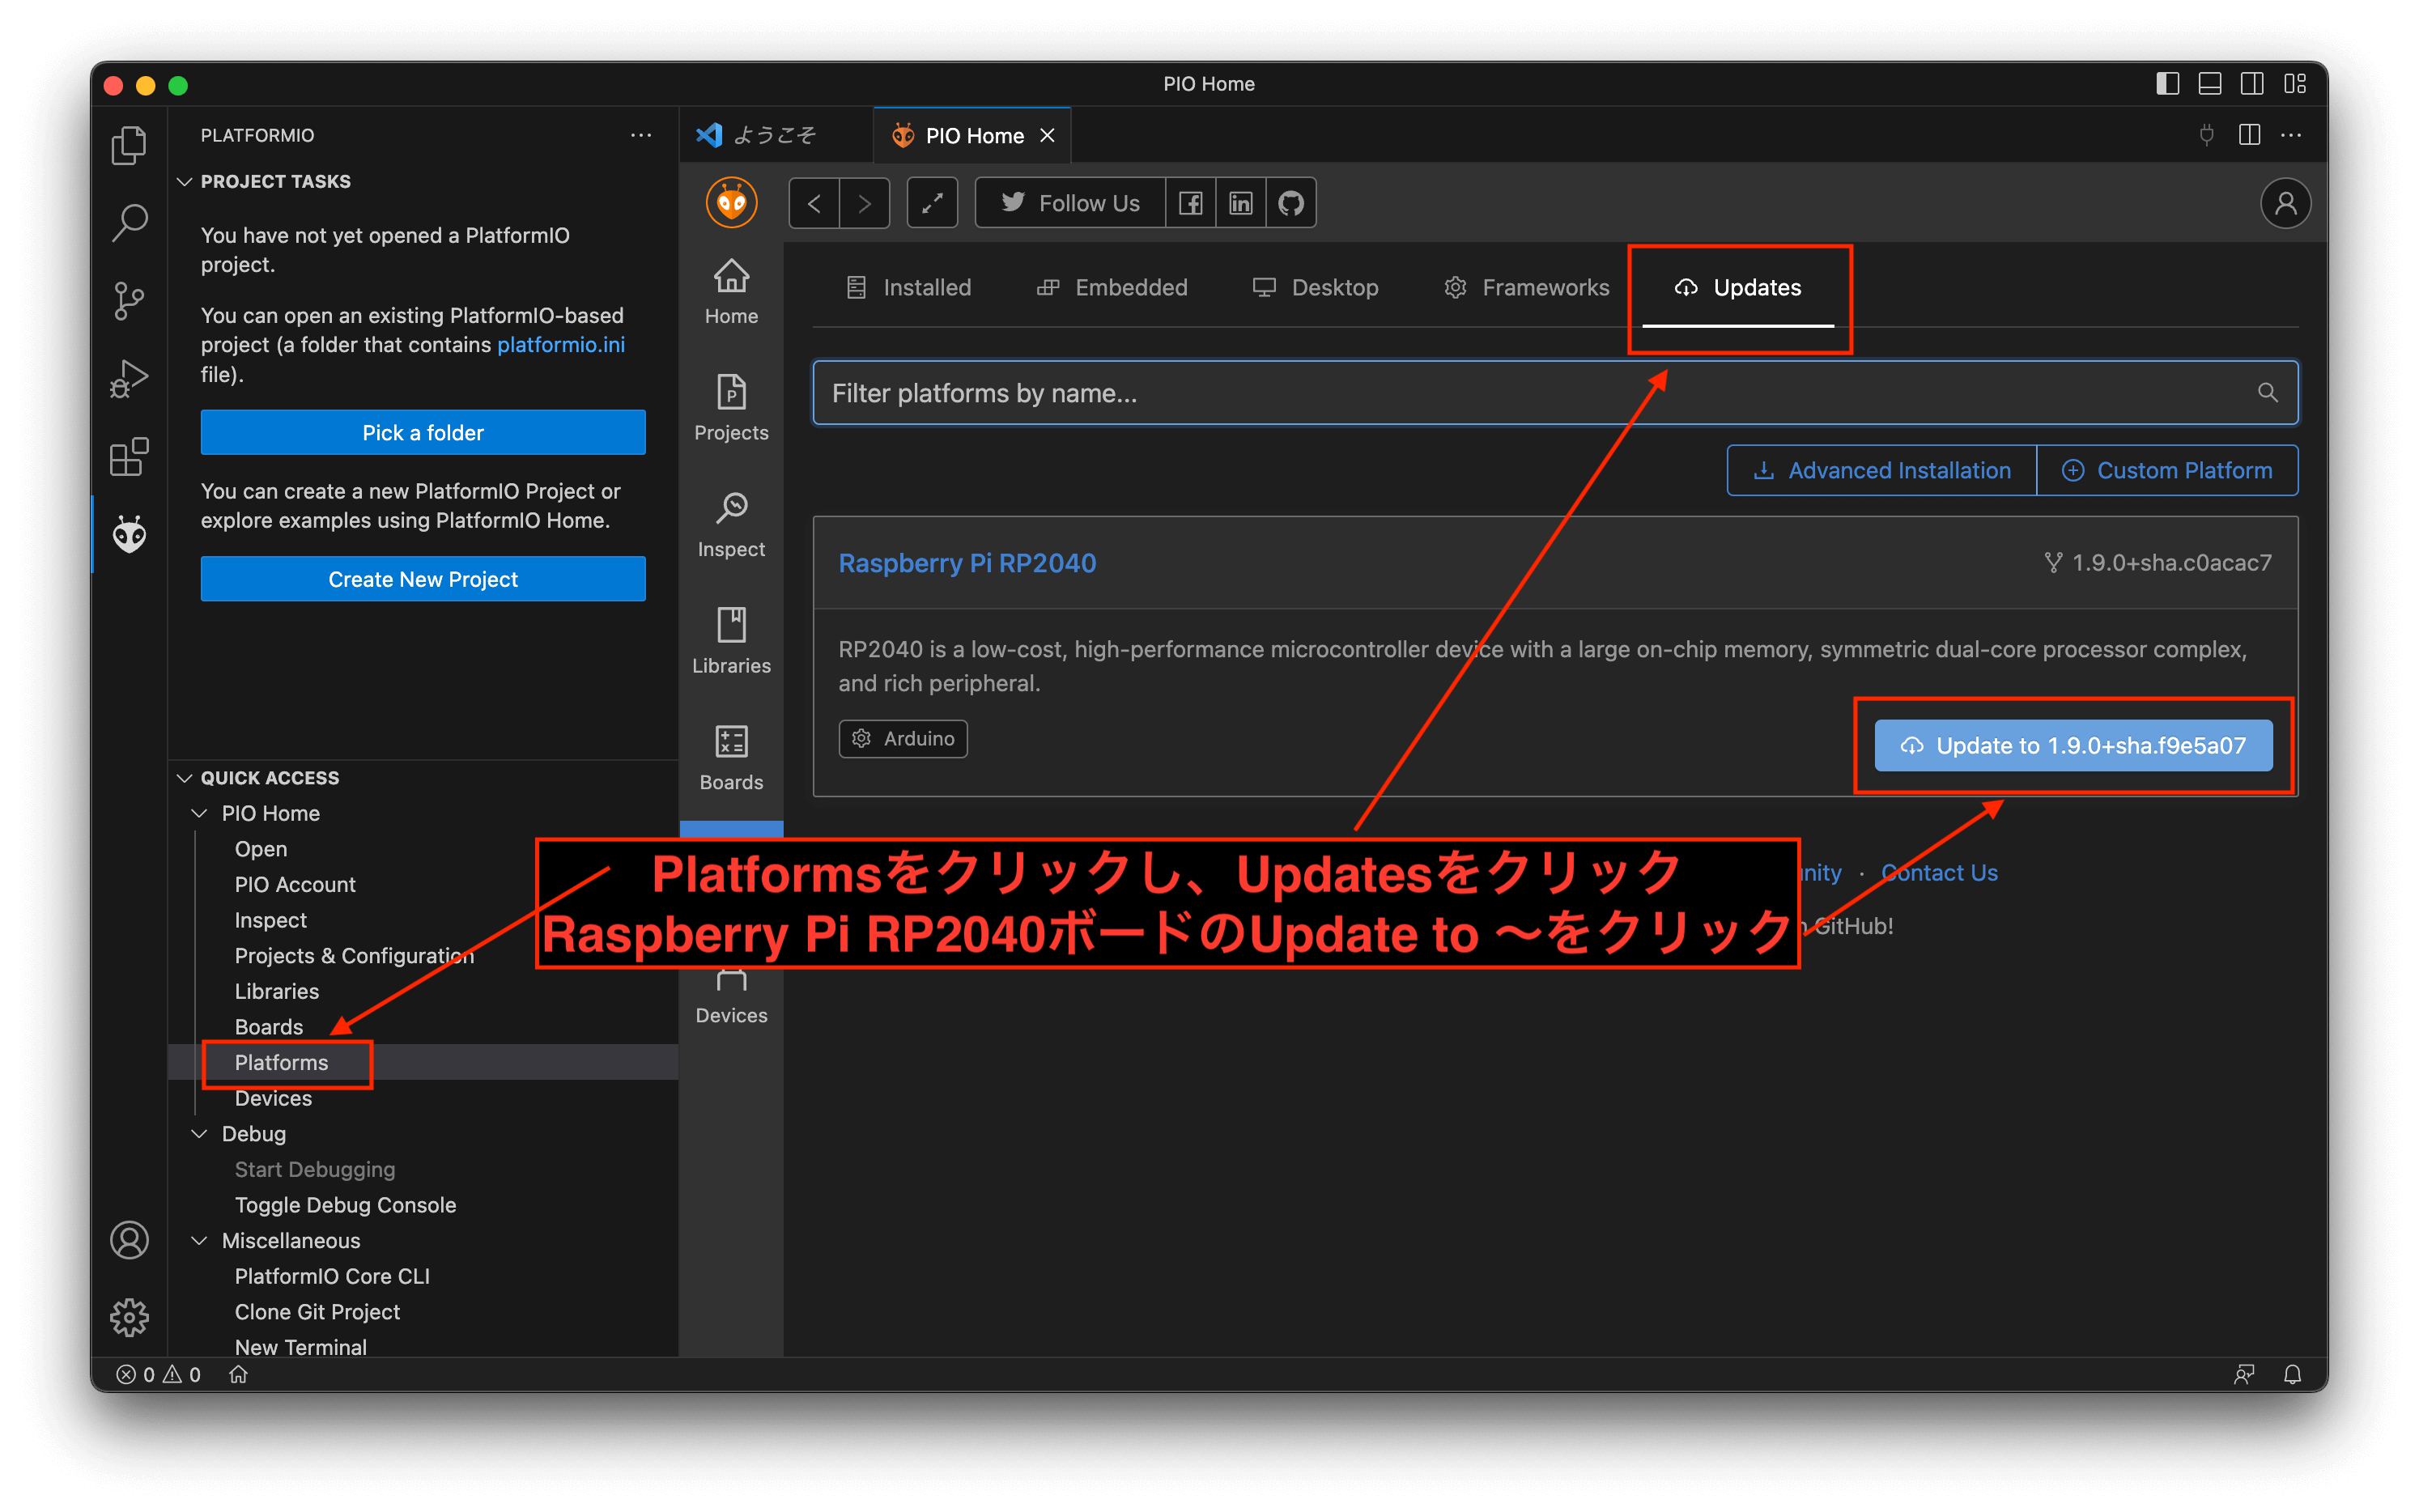
QUICK ACCESSの「Platforms」をクリックするとPlatformsの画面になります。
「Updates」をクリックし、アップデート対象であるRaspberry Pi RP2040ボードの「Update to」から始まるボタンをクリックするとアップデートされます。
※クリックするメニューの位置は画像でご確認ください。
CLIからアップデート
PlatformIO Core CLI(赤枠参照)を起動します。
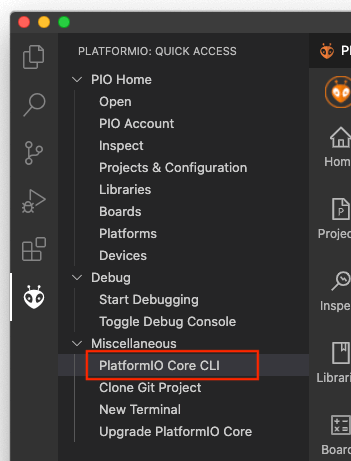
以下のコマンドで最新の状態にアップデートできます。
pio pkg update -g -p https://github.com/maxgerhardt/platform-raspberrypi.git新規Arduinoプロジェクトの作成
PlatformIO IDE Home画面「New Project」(赤枠)からプロジェクトを新規作成します。
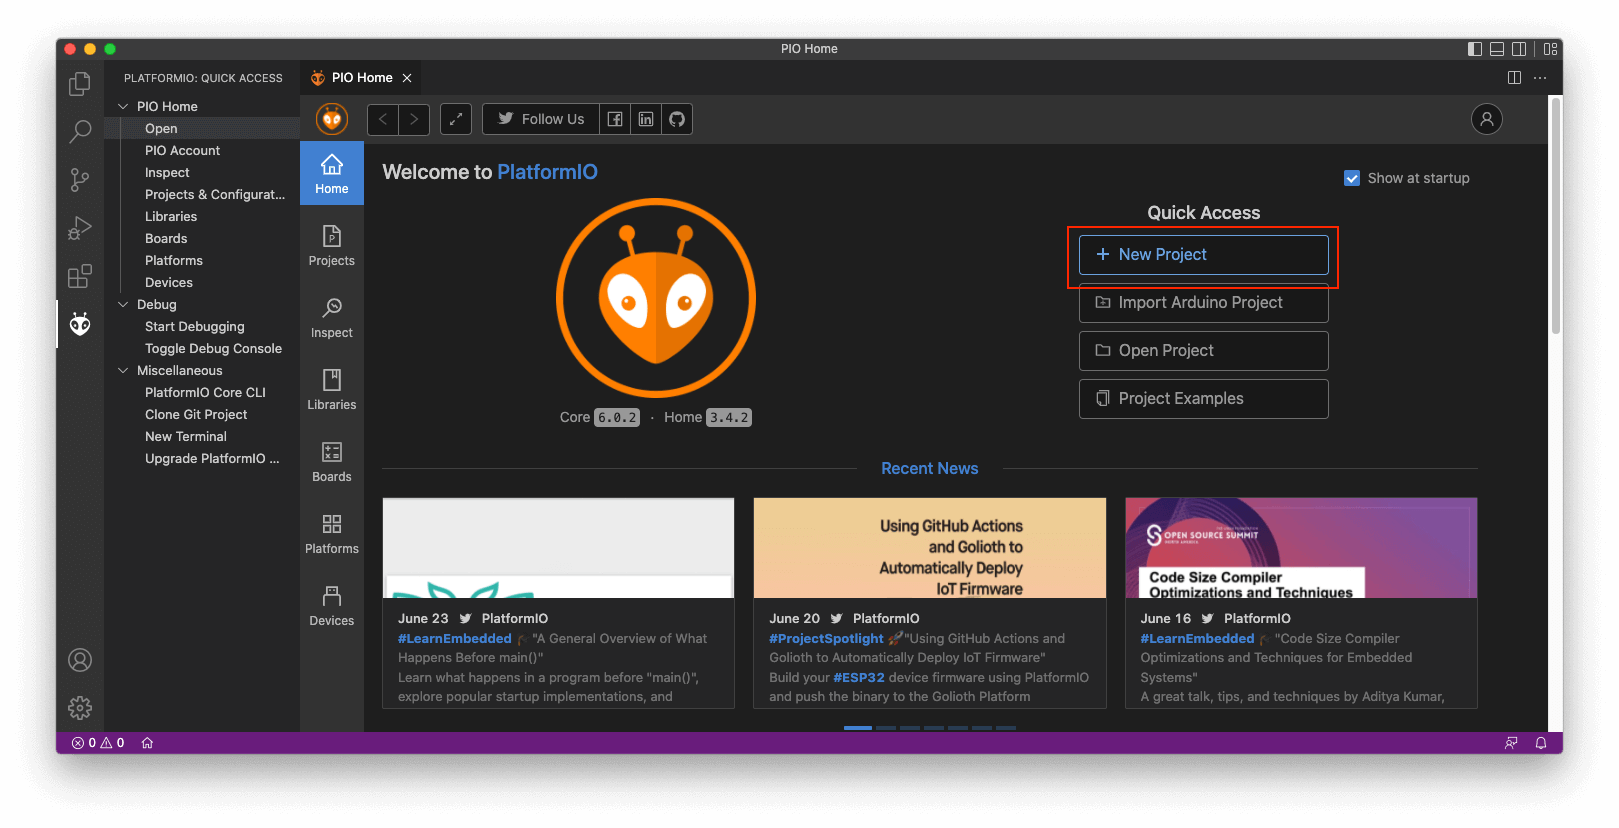
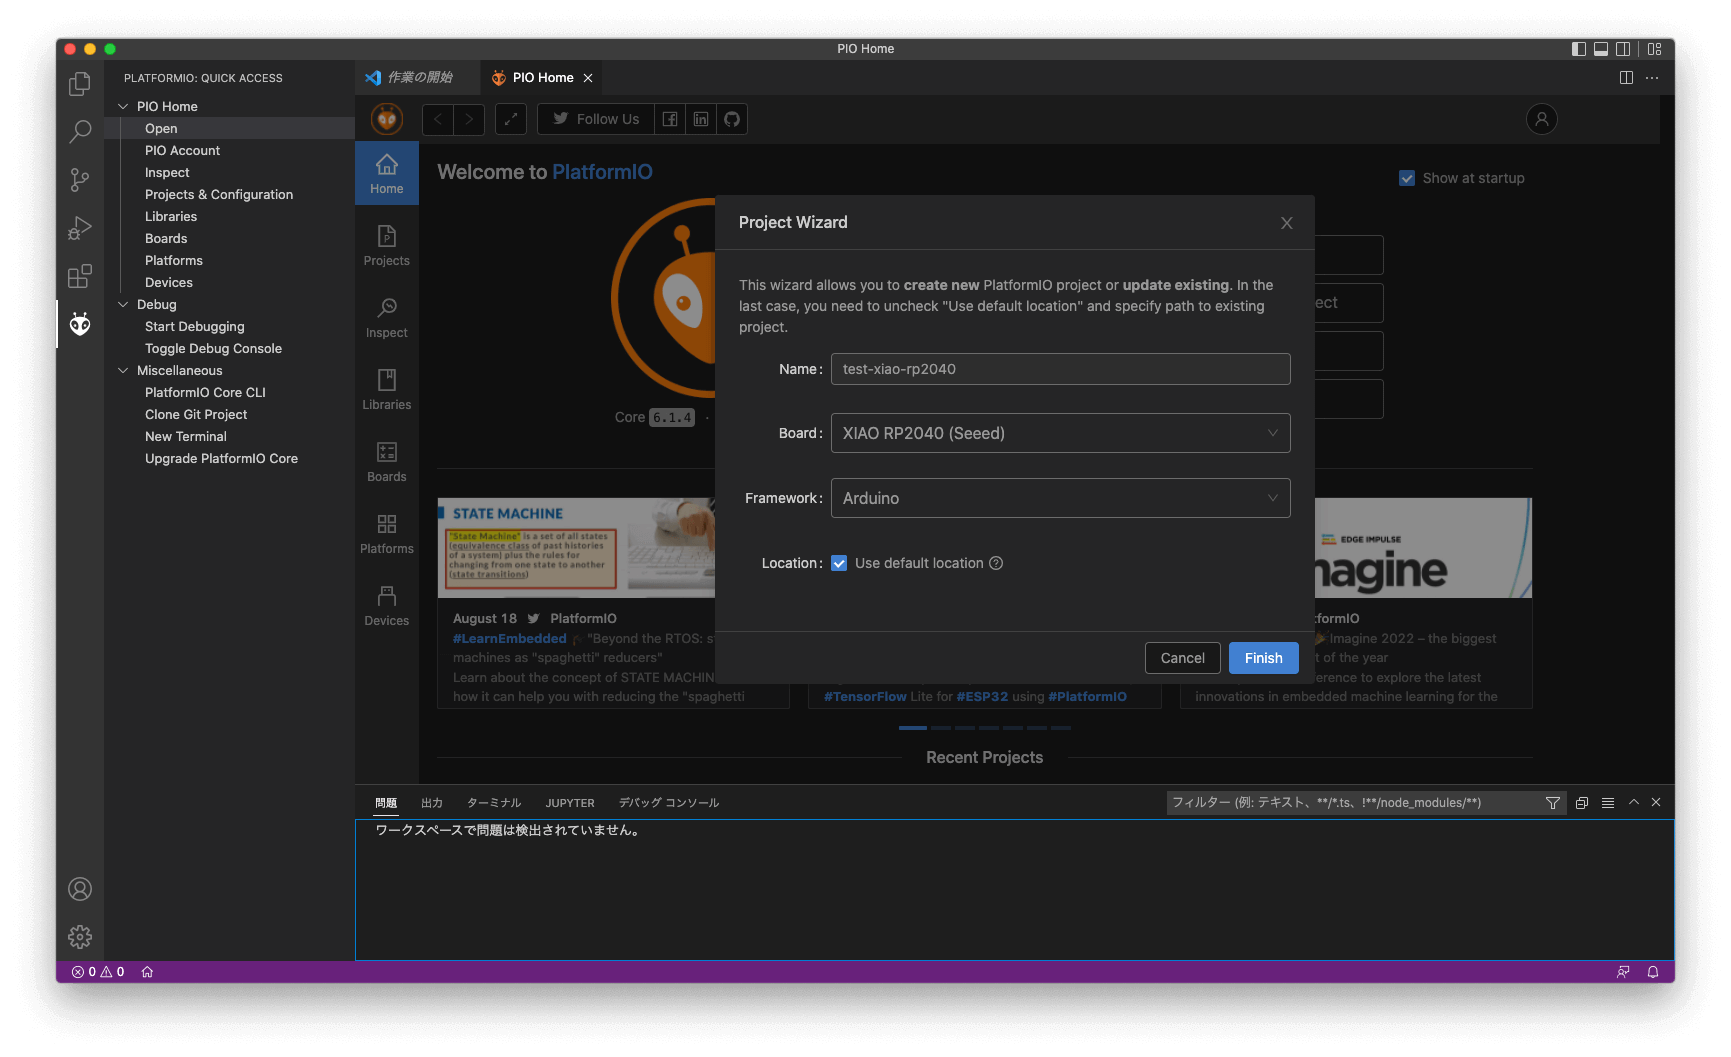
Project Wizardが開きます。
Name: にプロジェクト名を入力します。
Board:
主なボード一覧
| RP2040ボード | Board: (名前) | board (platformio.ini定義名) |
|---|---|---|
| Raspberry Pi Pico | Pico (Raspberry Pi) | rpipico |
| Seeed XIAO RP2040 | XIAO RP2040 (Seeed) | seeed_xiao_rp2040 |
| Adafruit QT Py RP2040 | QT Py RP2040 (Adafruit) | adafruit_qtpy |
| Waveshare RP2040 Zero | RP2040 Zero (Waveshare) | waveshare_rp2040_zero |
Raspberry Pi Pico
「Pico (Raspberry Pi)」を選択します。

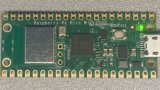
Seeed XIAO RP2040
「XIAO RP2040 (Seeed)」を選択します。
※バージョン2.4.0より前のバージョンではボード名がXIAOではなくXAIOであること(以下の画像参照)に注意してください。 2022年8月19日
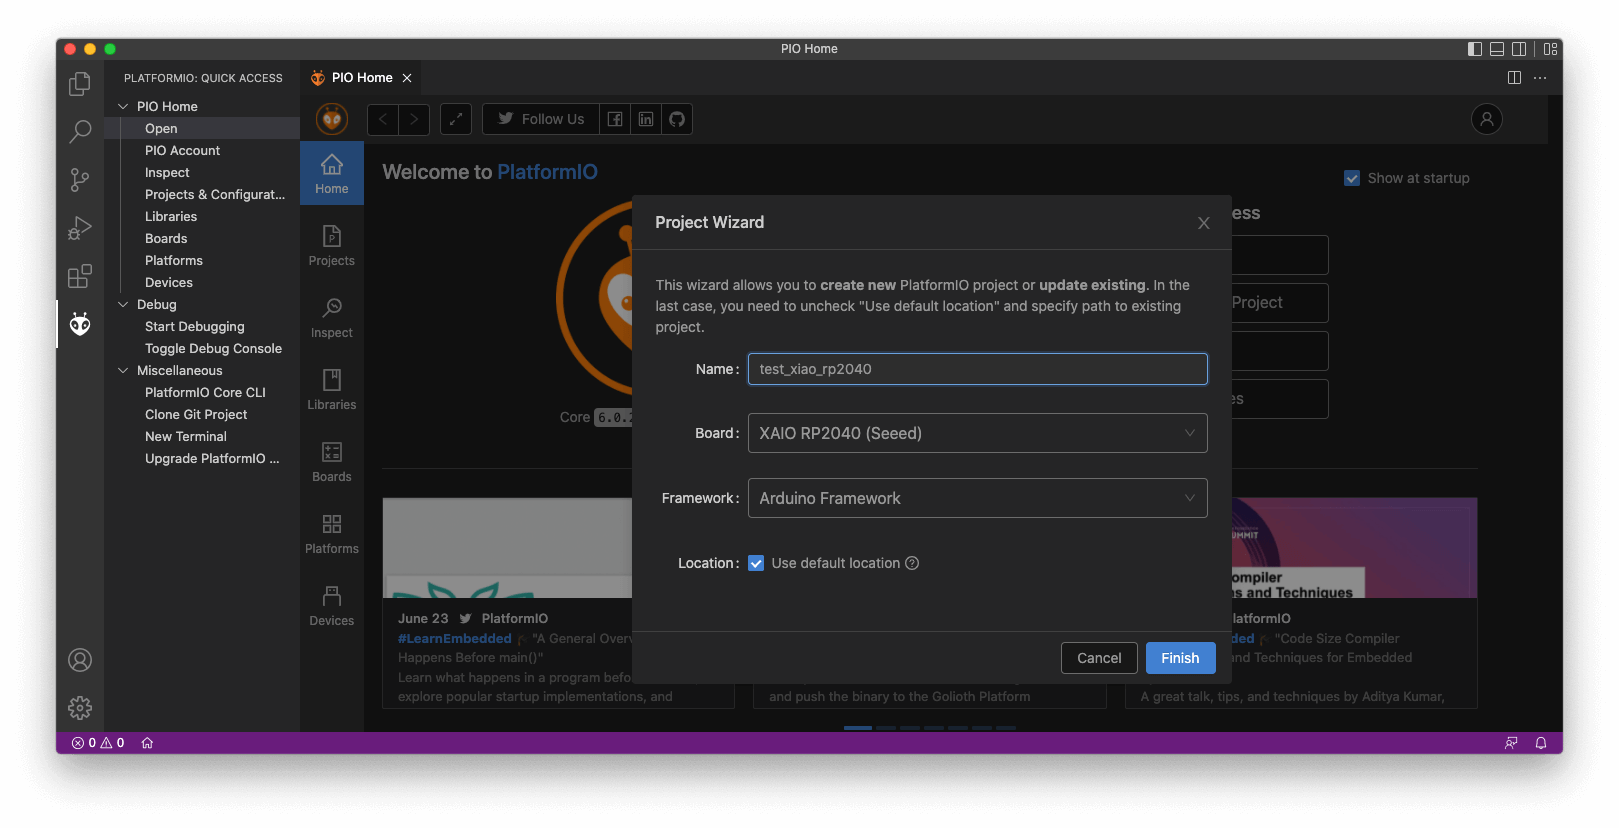
現在のXIAOシリーズの正式名称について

Adafruit QT Py RP2040
「QT Py RP2040 (Adafruit)」を選択します。

「Finish」をクリックするとプロジェクトが作成されます。
RP2040ボードは上記の他、Raspberry Pi Pico/RP2040ボード(Arduino-Pico)でサポートされているボードが(ほぼ)選択できるようになっています。
ボードのバージョンを固定したい場合
platformio.iniの当該ボードのenvセクションに次の項目を追加します。
末尾に#x.x.xでバージョンの指定をします。以下はバージョン2.5.2を指定した例です。
platform_packages =
    framework-arduinopico@https://github.com/earlephilhower/arduino-pico.git#2.5.2
platformio.iniを書き換えた直後はボードが有効になるまで以下のようなアイコンが表示されます。
表示が消えるまで時間がかかるのでしばらくお待ちください。

バージョンは以下から確認できます。
https://github.com/earlephilhower/arduino-pico/tags
platformio.iniの例(Seeed XIAO RP2040)
; PlatformIO Project Configuration File
;
;   Build options: build flags, source filter
;   Upload options: custom upload port, speed and extra flags
;   Library options: dependencies, extra library storages
;   Advanced options: extra scripting
;
; Please visit documentation for the other options and examples
; https://docs.platformio.org/page/projectconf.html

[env:seeed_xiao_rp2040]
platform = raspberrypi
board = seeed_xiao_rp2040
framework = arduino
platform_packages =
    framework-arduinopico@https://github.com/earlephilhower/arduino-pico.git#2.5.2
スケッチの書き込みについて
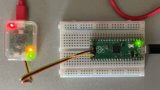
Chromebookなどシリアルポートから書き込みできない環境の場合、手動でスケッチを書き込みできます。
RP2040搭載ボードまとめ記事(参考サイト)

Raspberry Pi Debug Probe(デバッガー)を使う場合
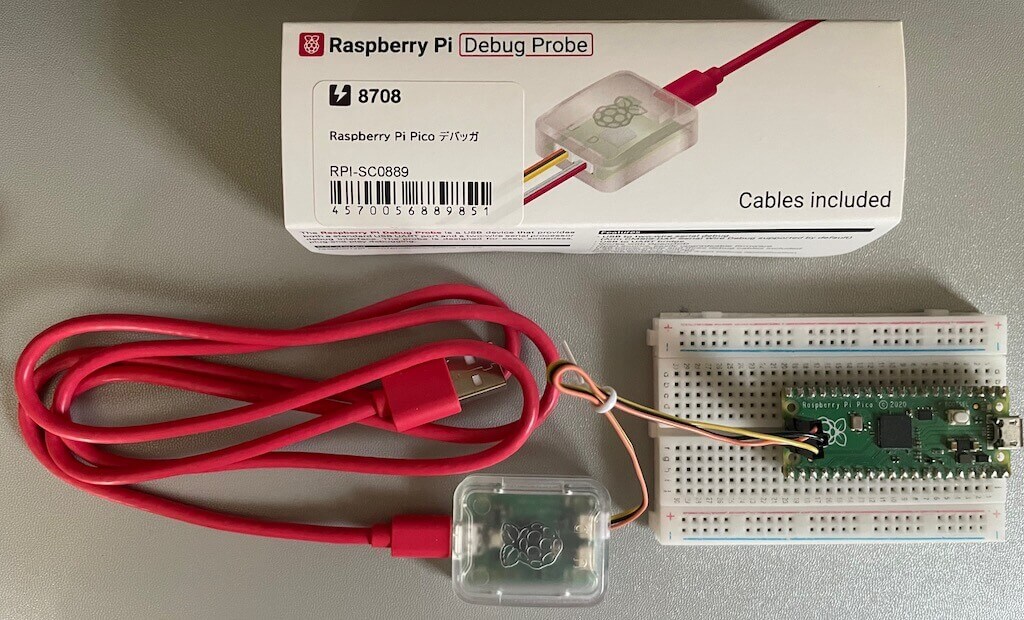
このデバッガーによるデバッグを実施したい場合、当該ボードのenvセクションに以下を追加します。
upload_protocol = cmsis-dap
debug_tool = cmsis-dapアップロードポートはデバッガーのポートを指定してください。
ポート名について
Windowsの場合: COM*
Macの場合: cu.usbmodem*
RP2040ボード設定
Arduino IDEと同様の項目が設定できます。
パラメータはplatformio.iniの当該RP2040ボードのenvセクションに記述します。
フラッシュサイズ
board_build.filesystem_size
ファイルシステムに割り当てるサイズを指定することができます。
設定値には、”b”, “k”, “m” (bytes/kilobytes/megabytes) と浮動小数点数を含むことができます。
Arduino IDEのようにプルダウンによる選択式ではないので、Arduino IDEよりも自由度が高い(細かく指定できる)のが特徴とのことです。
例:
; in reference to a board = pico config (2MB flash)
; Flash Size: 2MB (Sketch: 1MB, FS:1MB)
board_build.filesystem_size = 1m
; Flash Size: 2MB (No FS)
board_build.filesystem_size = 0m
; Flash Size: 2MB (Sketch: 0.5MB, FS:1.5MB)
board_build.filesystem_size = 1.5m
CPUクロック
board_build.f_cpu
CPUクロックを指定できます。
RP2040は、最大133MHzです。(これ以上はオーバークロック扱いになります。)
例:
; 133MHz
board_build.f_cpu = 133000000L
デバッグポート
build_flags
デバッグポートを指定できます。
例:
; Debug Port: Serial
build_flags = -DDEBUG_RP2040_PORT=Serial
; Debug Port: Serial 1
build_flags = -DDEBUG_RP2040_PORT=Serial1
; Debug Port: Serial 2
build_flags = -DDEBUG_RP2040_PORT=Serial2
デバッグレベル
build_flags
デバッグレベルは以下の例のように指定できます。
複数パラメータを指定したい場合は、半角スペースか改行のどちらかのパターンで区切ります。
例:
; Debug level: Core
build_flags = -DDEBUG_RP2040_CORE
; Debug level: SPI
build_flags = -DDEBUG_RP2040_SPI
; Debug level: Wire
build_flags = -DDEBUG_RP2040_WIRE
; Debug level: All
build_flags = -DDEBUG_RP2040_WIRE -DDEBUG_RP2040_SPI -DDEBUG_RP2040_CORE
; Debug level: NDEBUG
build_flags = -DNDEBUG

; example: Debug port on serial 2 and all debug output
build_flags = -DDEBUG_RP2040_WIRE -DDEBUG_RP2040_SPI -DDEBUG_RP2040_CORE -DDEBUG_RP2040_PORT=Serial2
; equivalent to above
build_flags =
   -DDEBUG_RP2040_WIRE
   -DDEBUG_RP2040_SPI
   -DDEBUG_RP2040_CORE
   -DDEBUG_RP2040_PORT=Serial2
USBスタック
build_flags
未指定の場合、Pico SDKが使用されます。
なお、特別な「USBなし」設定も、PIO_FRAMEWORK_ARDUINO_NO_USBでサポートされています。
例:
; Adafruit TinyUSB
build_flags = -DUSE_TINYUSB
; No USB stack
build_flags = -DPIO_FRAMEWORK_ARDUINO_NO_USB
IPスタック
IPv6を使用する場合 (デフォルトはIPv4)
build_flags = -DPIO_FRAMEWORK_ARDUINO_ENABLE_IPV6Bluetoothスタック
Bluetooth(BluetoothクラシックおよびBLE)を使用する場合 (デフォルトは無効)
build_flags = -DPIO_FRAMEWORK_ARDUINO_ENABLE_BLUETOOTHbuild_flagsのパラメータについて
パラメータを指定する場合、
-D[パラメータ名]
という形式で記述します。
例えば、パラメータ名がPIO_FRAMEWORK_ARDUINO_NO_USBであれば、
-DPIO_FRAMEWORK_ARDUINO_NO_USB
と記述します。
まとめ
PlatformIO IDEでの開発は、Arduino IDEに比べてコンパイルが速かったり、ライブラリのバージョンをプロジェクトごとに管理(固定)できるといったメリットがあるのが魅力かと思います。
当ブログのマイコン記事です。ぜひご覧ください。


コメント